
I glanced over at the fabric scrap basket the other day expecting it to be quite empty - I was quite smug about it actually. Then there was a long wail of horror as I saw that in fact, it was once again spilling over onto the floor! How does that even happen!!!
I tidy it often and I use those scraps often. Well they must be breeding up in there. I am sticking to that hypothesis. Maybe each pair of scraps can produce so many more withing a few weeks like mice. Well it could happen.

I really love this sort of organisation and I have made a new system whereby I have several small plastic boxes with a label on each and I am now cutting the scraps to the appropriate sizes for each box and filing them away at the end of each project. And do you know what? The scraps have stopped breeding in the box. I wonder if the two things are connected?? Probably just a coincidence.
Well anyway, I want to make a cushion cover for a tired looking one on my sofa so today here is the make.....


And what will you need for this?
-SCRAPS! Go through yours and cut the ones that you want to use into 4 cm wide strips.
- Fat quarter of low volume text print fabric
- 30cm strip #279 80/20 cotton mix wadding (Vlieseline)
-something for the back of your cushion
Your usual sewing/quilting needs.
I haven't spent a lot of time giving you measurements here. My cushion is a narrow one but to make this to suit any cushion, just measure yours and then trim the front and back to that size. Don't make the cover too large or the cushion will be floppy and loose. Nothing worse.
So, let's get on.....wait a minute, I haven't mentioned the star of this particular show! The scraps are really only the supporting act. No, today's big star is.....My new Sew Easy Ruler!


This one is a triangle as you can see and it gives us a pot of options. It is going to be perfect for cutting the shapes that we need from the scraps. I have added the stockist info at the bottom of this post so that you can find one for your very own collection.
NOW we can get going!
Okay, get a bunch of scraps and choose some colours which are appealing....

Sew them together....

A couple of things to remember when you sew them together. One, lay your ruler over the top from time to time so that you can check for fit. The scraps have to be slightly larger than the ruler...

Secondly, your scraps are going to be different lengths. That's just the way the cookie crumbles. Doesn't matter though, put the shorter ones on the end of the stack where the triangle ruler naturally tapers off. Easy peasy!

When the strips are sewn, cut the shape out using the ruler and your rotary cutter....

You now have a neat and perfect triangle...

Cut another one from your fat quarter of fabric....

and join them together along the diagonal edge....

Trim and press being very careful for the bias edges. Now do this again and keep going until you have enough for your particular cushion.
My next move it to cut two half triangles using the template to go next to my scrappy strip. Have a look how this is done....

Those markings on the template aren't there for fun or prettiness. They help you to line things up and achieve accuracy. See the centre red line? If I place this on the left hand diagonal, I get a perfect centre line cut.

And it has seam allowance built in! What more could we possibly ask for! Now I join those to the top two edges of the scraps like this...

Look at those points! You could prick your finger on them!

You will notice that my edges are a bit ripply looking? They are ALL bias edges and this rippling is a sign that they are stretching which can pull them right out of shape. It is a warning sign for me to be a bit more careful how I handle them especially when it comes to pressing.
Okay, strip block time again. Make another one the same way as the first. Then make some more half ones both solid and strippy.
The idea is to attach the pieces as opposites so that you mirror image everything...

You can see what is happening in this photo too...

Now as I said, my cushion is a longer and narrower one so this is basically it for me but if you want to grow this into a quilt or if you have a square cushion on hand, it would look marvellous with another addition of blocks underneath.
I needed a smidgen more around mine to give the required size so I added a narrow border of navy blue...

Borders like these are the best way to increase size and they can be any colour from your fabrics that you would like to highlight. Don't worry about the length; you can trim that off and if you have made it too big, trim it back. Too small still, add another one! Easy and looks very nice. The only thing to remember is that if you need to trim anything off the width, trim evenly from all sides otherwise it can look a bit odd.
Okay, back with the programme and it is time for quilting. Lay your top onto the wadding and pin it so that it cannot move in any direction.
One point worth mentioning since we are in a scrappy mood....you can use wadding scraps too.

As you can see, I have cobbled some together to make a new piece. That is what I love about this product, there is no waste! I love my Vlieseline products and I love the fact that I can use every last scrap. Makes for tremendous value so don't throw anything away!
Well I keep getting distracted so I must try to stay on topic! To get this done, you need to tidy edges with a ruler and rotary cutter so that they are dead straight and then but them together. DON'T OVERLAP!!! I know some people say that this is okay but it can cause unsightly ridges to show on your work so I never do it. Fabric can rub over time too and holes can form. Just butt the edges together and use a wide zig-zag stitch.

And presto! New wadding!
So, lay the top onto the wadding which is larger all around and quilt with your favourite patterns. I have used a concentric square pattern for mine radiating out from the centre like ripples on a pond.

It is easy and it echoes the geometric lies of the patchwork.

I have repeated it on the back but you do need to do some prep work there because you don't have the obliging patches to help you to place your lines. But don't worry, couldn't be easier! Fold the fabric into quarters and press creases with an iron....


Draw over the creases in water soluble marker if you cannot see them....

Now quilt as the front, beginning with a centre square (I have drawn that in too)....

Use the ruler to draw the centre square too. There are markings right down each side and then you have your centre line. Decide how big you want the centre square to be and line everything up...

Draw the top bit and then line the ruler up under the centre horizontal crease and draw the bottom bit....

Anyway, quilt as for the front starting in the middle and then keep on going...

You can see it even better from the back...

And see how flat the wadding joins are?
Trim the threads and remove any water soluble marker lines.
Now trim so that the back is the same size as the front. Grab the front again and with the right sides together, sew all around the outside and leave a gap at the bottom of the case.
Insert the cushion through the gap and then close it by hand. And that's it - a cute cushion!

Now I did promise to let you know where you can find the things that I have used here. Mostly, good craft stores and online are the best bet but for the special ruler, go to....
groves@stockistenquiries.co.uk 01453 883581

And for Vlieseline products, it's.....
www.vlieseline.com
Ph 01453883581 crafts@stockistenquiries.co.uk

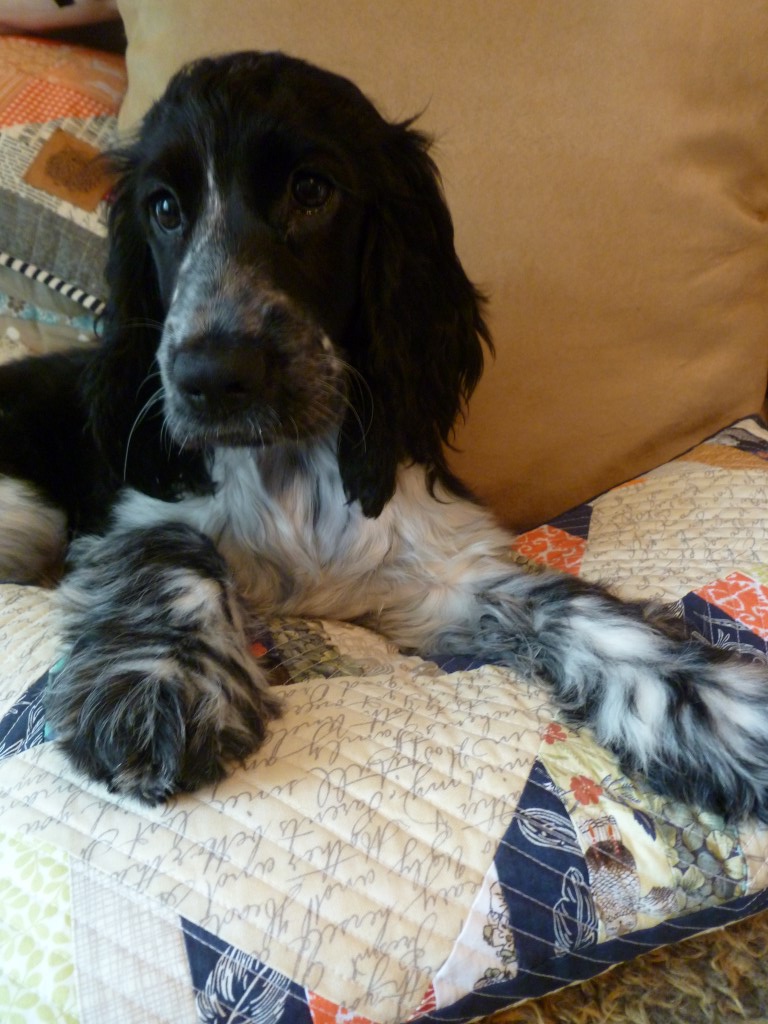
It has Daisy's seal of approval too!
Thank you so much for stopping by. I hope that you have enjoyed this scrap buster. I know that makes like this always leave me feeling very virtuous *insert pic of writer looking angelically heavenwards here*.
See you next time!
Love and hugs
Debbie
xxx
